
Blender Foundation and the online developers community proudly present Blender 4.0!
Released November 14th, 2023
Show-off
See how the community is pushing the Freedom to Create.
Show & Tell
Round-up of what’s new, in detail.
by Gaku Tada

SHADING
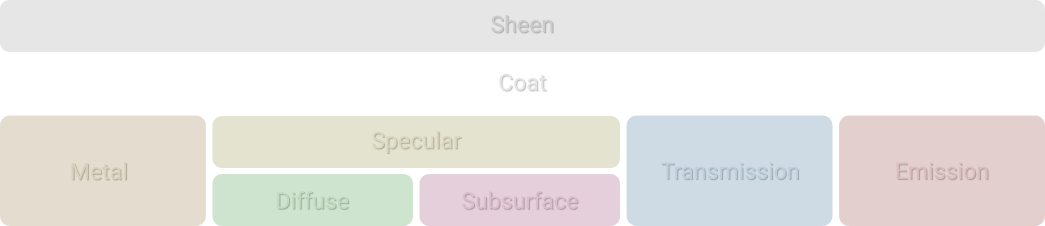
The order of the different layers has been adjusted to allow for more flexibility when mixing between them.
PRINCIPLED BSDF


Example showing Coat weight at 1.0, above emissive mesh.
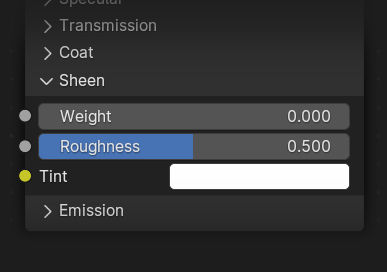
PRINCIPLED BSDF
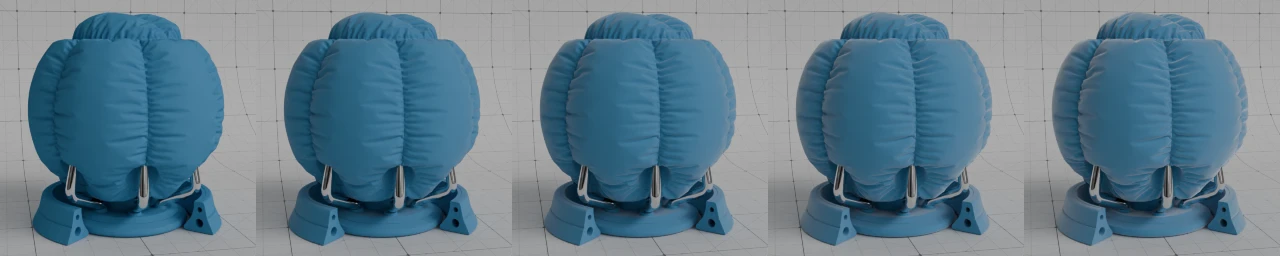
Sheen Weight from 0.0 to 1.0
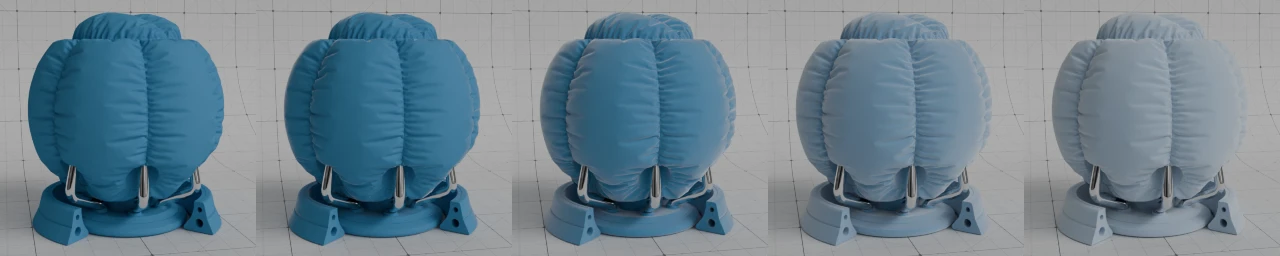
Sheen Roughness from 0.0 to 1.0
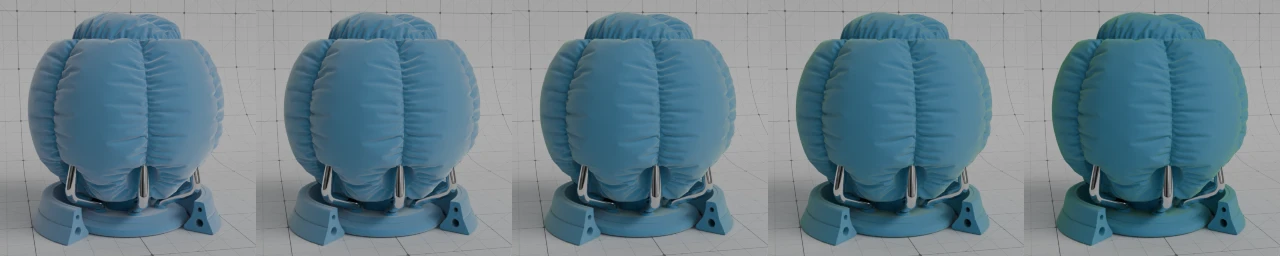
Sheen Tint from white to green.


Example showing the Sheen layer over a glossy surface.
Traditionally, sheen has been used for fuzzy cloth, but now it can also be used for dust on arbitrary materials.

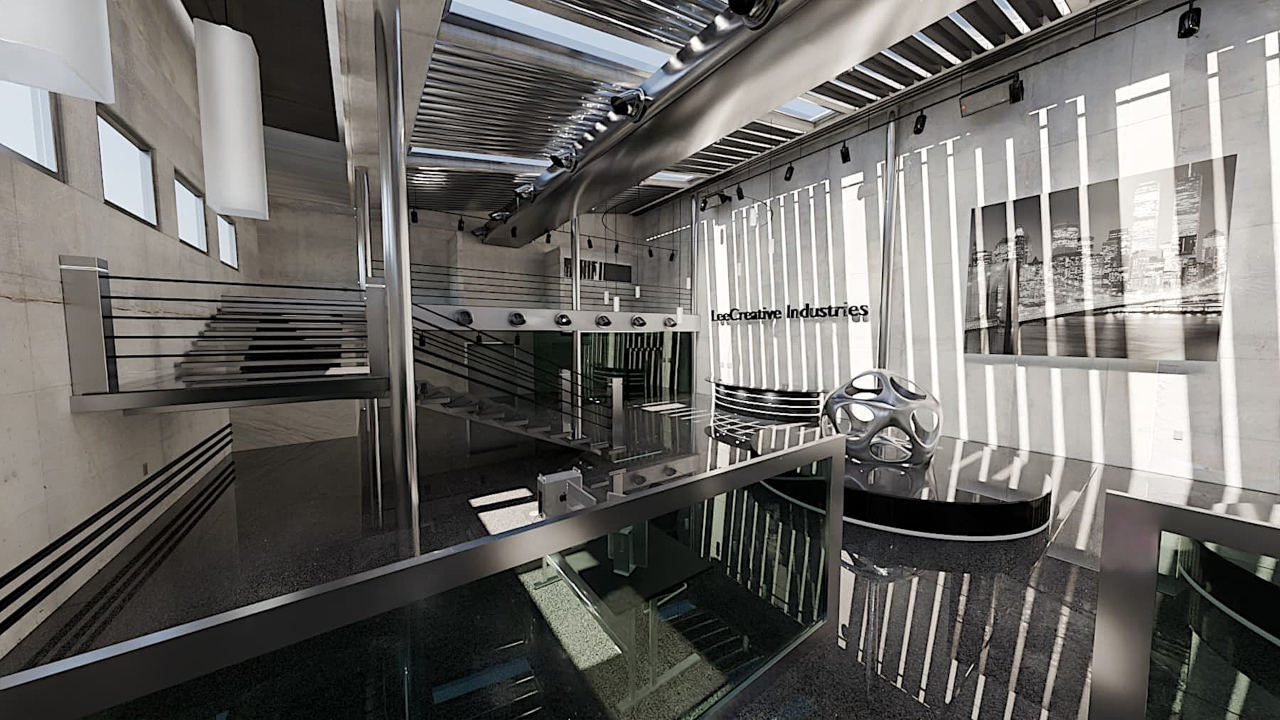
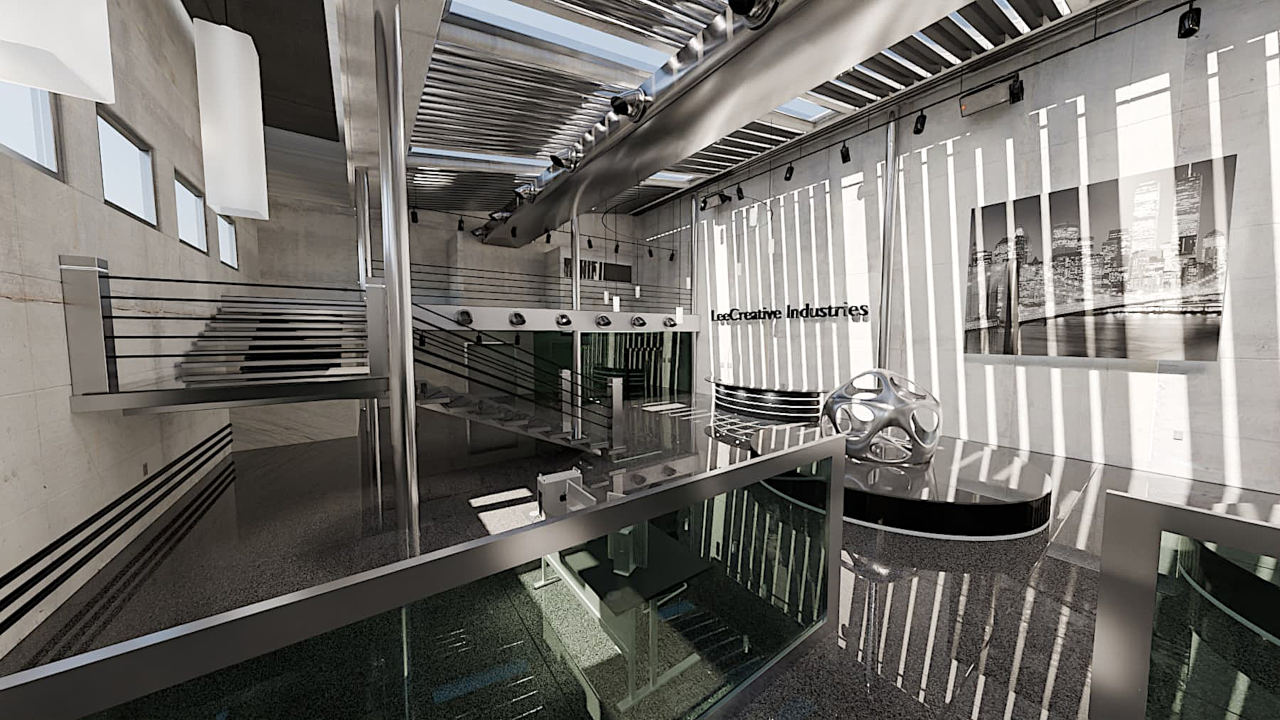
COLOR MANAGEMENT
A new view transform has been added: AgX, providing better color handling in over-exposed areas compared to Filmic.

Bright colors go towards white, similar to real cameras.

View Transform AgX, using look “Punchy”.

View Transform AgX, no look applied (same as “Base Contrast”).

View Transform FIlmic, no look applied (same as “Medium Contrast”).

View Transform Standard, no look applied (same as “Medium Contrast”).
Community Videos


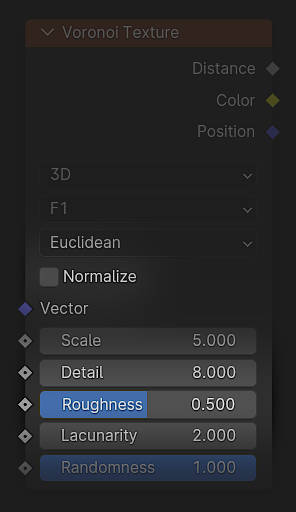
TEXTURES
CYCLES


CYCLES
New Tools-specific Nodes
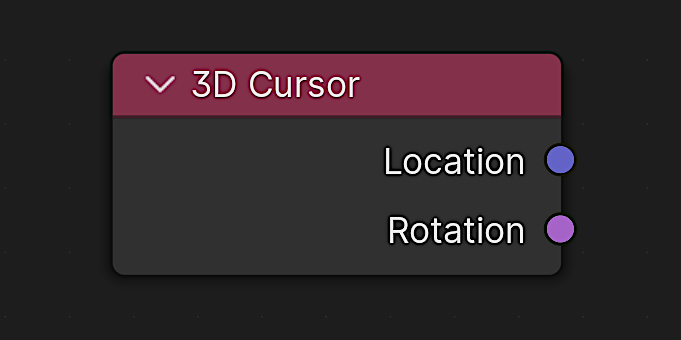
Get access to the 3D cursor location and rotation.
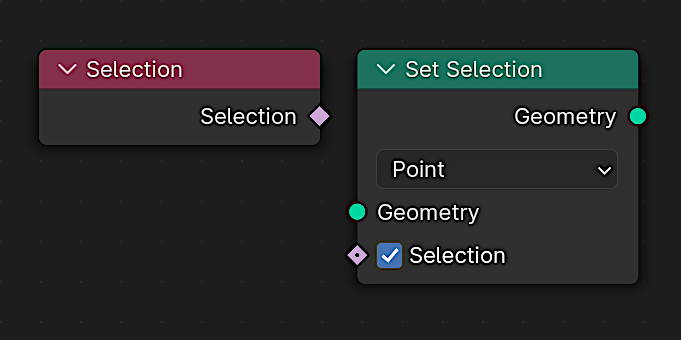
Edit mode selection is accessible and controllable with the Selection and Set Selection nodes.
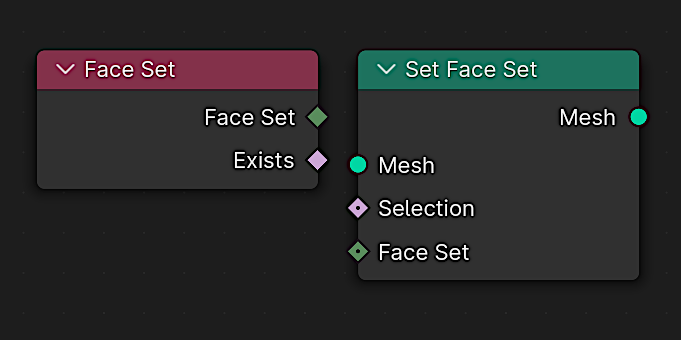
Sculpt face sets are accessible as well with the Face Set and Set Face Set nodes.
What the community is already creating with Geometry Nodes Node Tools
I made this #geometryNodes tool for breaking objects in edit mode with the new node tools in #blender 4.1 alpha
— Isaac (@lopoisaac) October 9, 2023
Blend file (CC0 license) >> https://t.co/rO2JqR15e7 pic.twitter.com/LM3fSQo0m9
this seems useful pic.twitter.com/OOBXZUsAPU
— passivestar (@passivestar_) October 31, 2023
The new geometry Node Tools in Blender 4.0 are actually very useful, I've just created a tool which converts 2D grid planes into 3D volume grids which can then be used for 3D volumetric simulations! #b3d #simulationnodes #geometrynodes #Physics #Science #Engineering #education… pic.twitter.com/oMj19amXX4
— Sam M (@samerps) October 20, 2023
Read the Node Tools announcement by the developers on code.blender.org
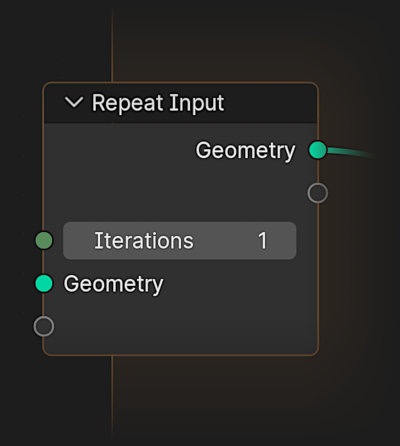
Repeat Zones allow running nodes many times in a loop for an arbitrary number of times.
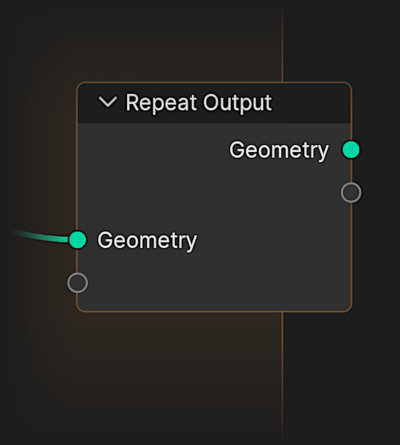
Geometry Nodes Repeat Zone work by the community
Blender 4.0から実装された Repeat Zoneのおかげで繰り返しの処理がかなりやりやすくなった#Blender3d #geometrynodes pic.twitter.com/BcykG0YfVD
— MiRA (@sequensizer) August 10, 2023
The new repeat zones were helpful for this. Happy to see nested zones work. Much easier to setup constraints! #b3d #geometrynodes pic.twitter.com/IhnjXcJ0Ry
— Sean (@seanterelle) July 20, 2023
in motions and abstract videos this node will be fantastic.
— Fares 3D (@Fares51364668) August 1, 2023
Blender 4.0, Repeat zone.
#blender #blendercommunity #geometrynodes #b3d #motion pic.twitter.com/OBn7W0nRjZ

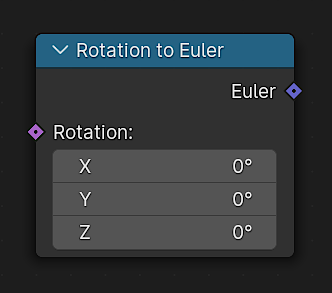
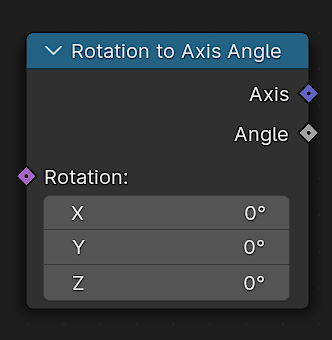
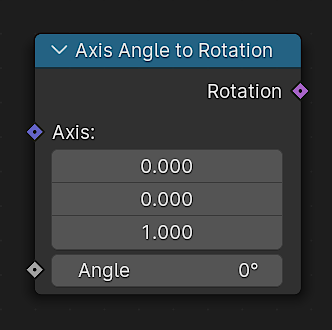
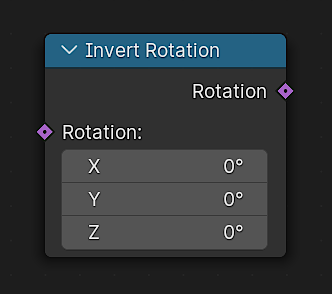
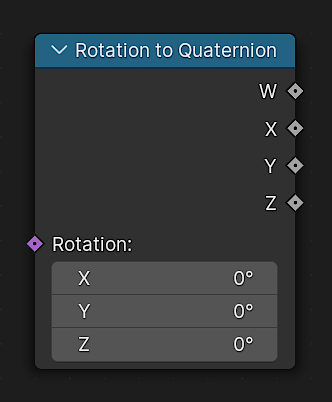
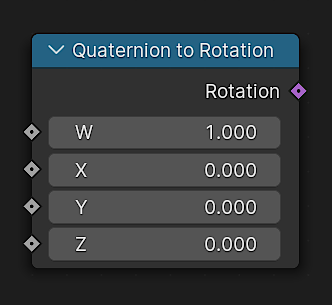
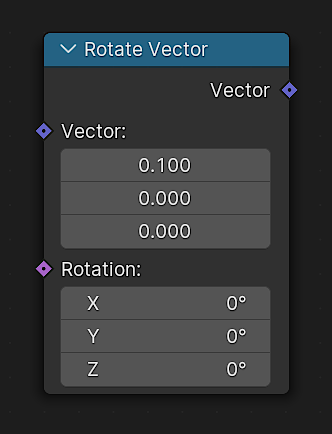
Simpler Rotations
A new rotation socket is introduced along with eight new nodes for simpler processing.

MORE GEOMETRY NODES

THE FUTURE UNTANGLED
What's next for Geometry Nodes? Read about the latest workshop on code.blender.org

by Gaku Tada
AT A GLANCE
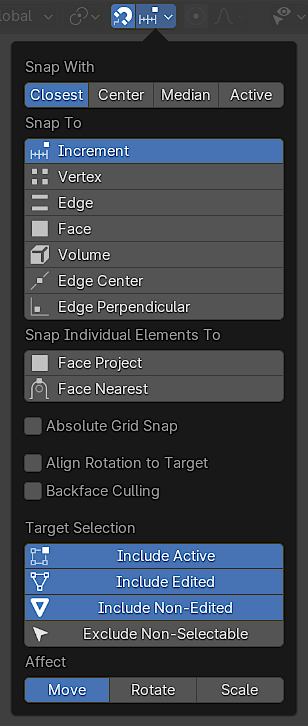
The cursor now dynamically changes shape as you hover over the mesh, to see at a glance which type of snapping is being used.
The symbols used to indicate are:
 for Vertex
 for Edge
 for Face
 for Midpoint
 for Perpendicular snapping
Combine it with transform, rotate, scale, axis constraints, you name it!
MORE ON USER INTERFACE

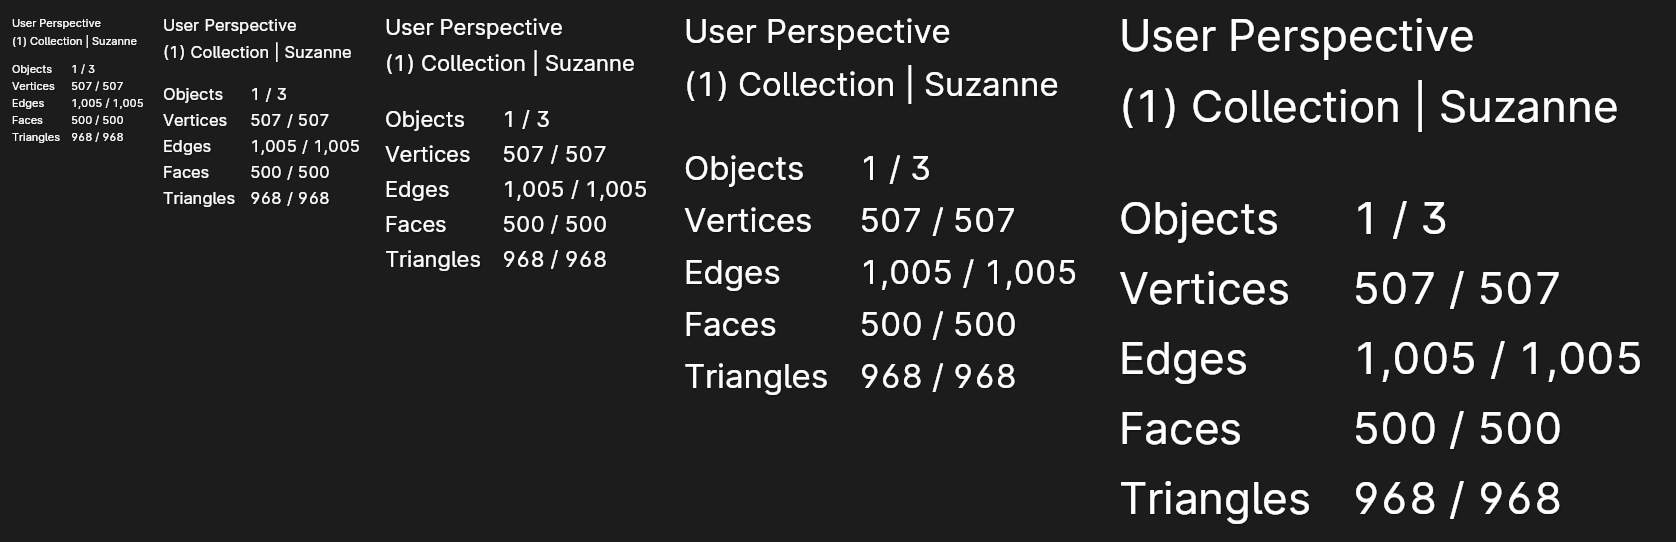
MORE ON TEXT RENDERING
GRAPH EDITOR
Blend the selected keys from their current position to either an ease in or an ease out curve.
Move the selected keyframes as a block so the first/last key align with the key before/after the selection.
Shear the keys based on the position of the keyframe selection ends.
Scale selected key values by their combined average.
Exaggerate or minimize the value of the selected keys.
Shift the value of selected keys in time.
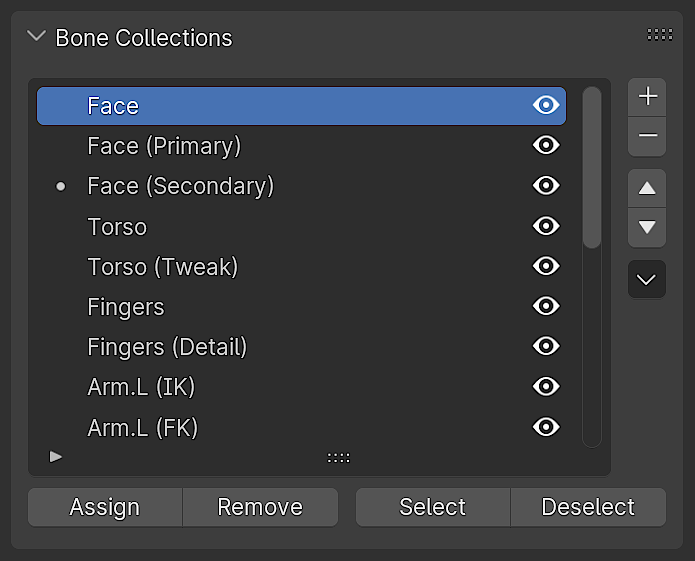
MORE ANIMATION & RIGGING GOODIES


MORE USD
ASSET LIBRARIES
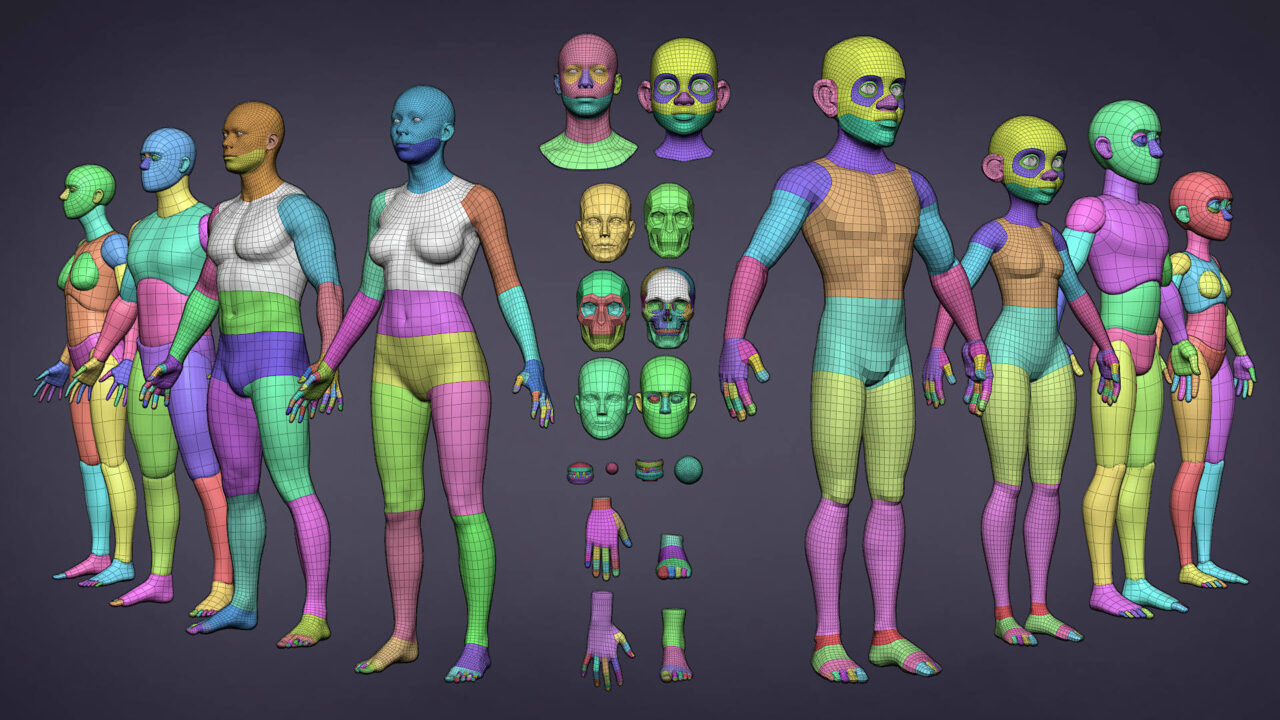
COME PREPARED
The Human Base Meshes bundle got an update with new assets, improved topology, and several fixes. Get a head start on your sculpts.

BUT WAIT, THERE'S MORE
- EEVEE support for the new Principled BSDF
- Support for navigation during transform
- New preference to toggle fresnel in Edit Mode
- Wire Color available in all shading modes
- Canvas selector in the header in paint modes
- Object/mode overlays settings have been split
- Support for more nodes in Viewport Compositor
- Compositor now supports node previews
Plus hundreds of bug fixes, code cleanups and refactors to make Blender more stable and easier to contribute to.
Corrective releases: Blender 4.0.1 was released on November 17th 2023 addressing 11 critical issues. While Blender 4.0.2 was released on December 5th 2023, addressing 41 issues.
Updating is highly recommended.

GET THE ARTWORK
Blender splash artwork source files are available for you to play with, not only for Blender 4.0 but for previous versions as well.
CREDITS
List of developers that contributed to Blender 4.0
Features recap video by Jonathan Lampel from CG Cookie. Features reel video edited by Francesco Siddi and Haru Legouge. Node Tools video by Simon Thommes. Repeat Zone flower by MiRA. Coat demo by Alex Treviño. Sheen, Color Management, and Voronoi demo using assets from Poly Haven. Light Linking demo by Daniel Bystedt. Path Guiding demo by Fernando Alcala and LRosario using assets from Blendswap. Snap Base demo file by Flavio Della Tommasa. Keymap video by Julien Kaspar. Page layout and design by Pablo Vazquez. Additional help by Blender Studio, Blender Institute and the Blender community.
Huge thanks to everyone involved ❤️
The Blender team. November, 2023